All postsMore in Ideas and inspiration
Wallpaper: the artful shortcut to transforming a space
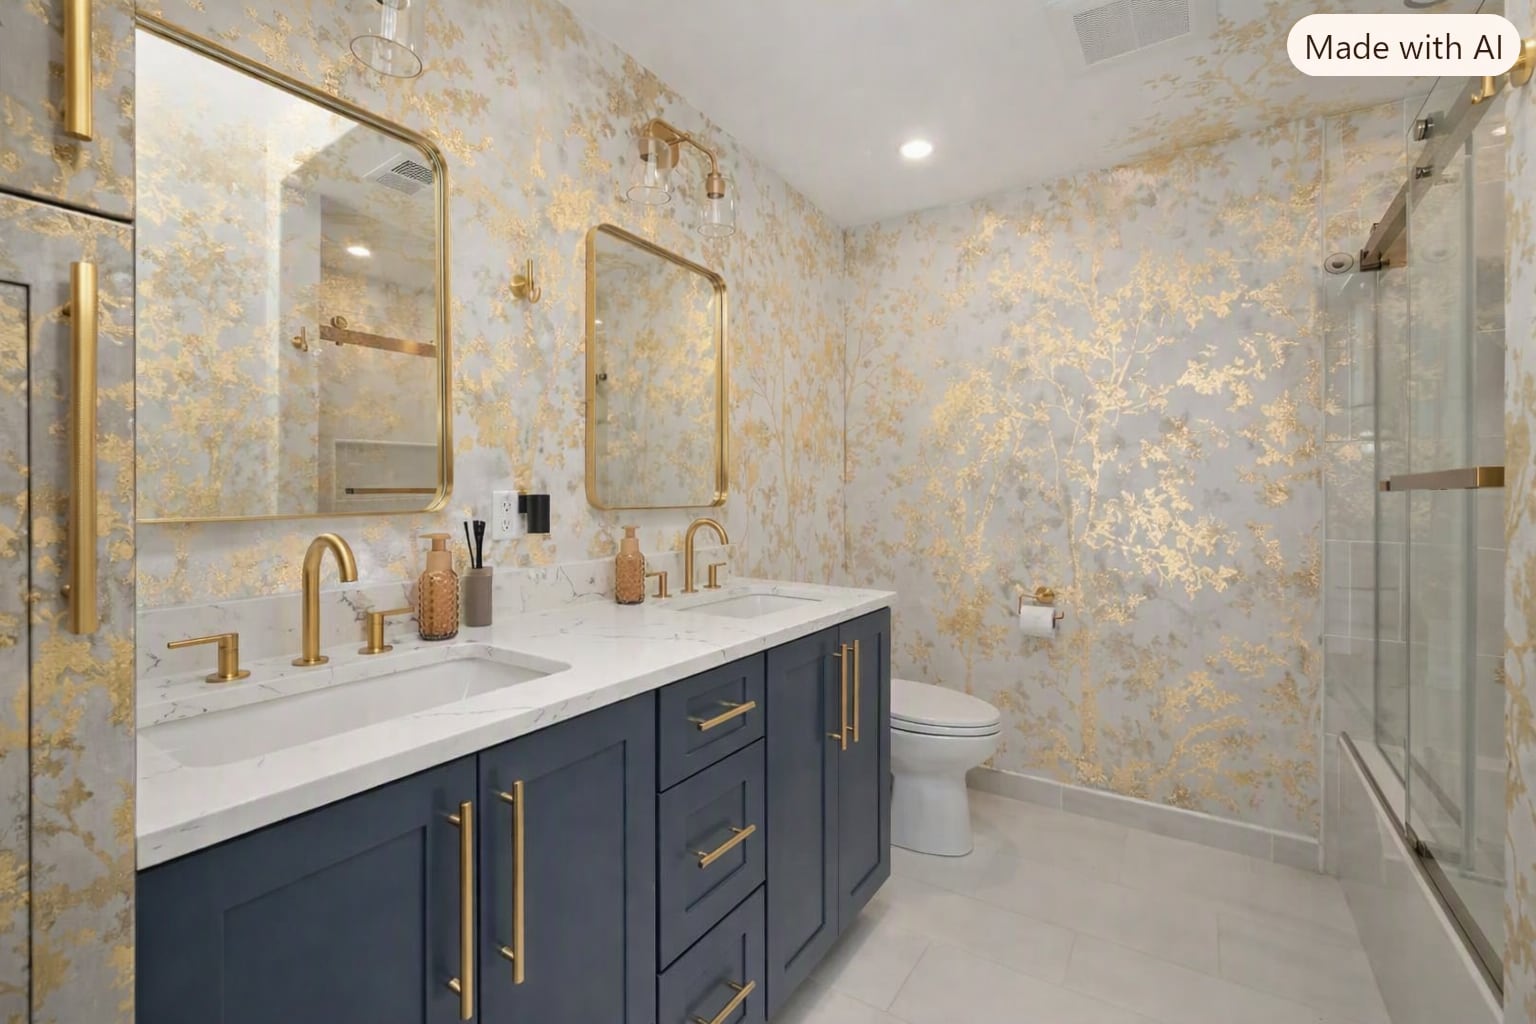
Wallpaper is one of the simplest—and most impactful—ways to change the feeling of a room. It can be bold or whisper-soft, dramatic or understated. At its core, wallpaper is exactly what makes it so special: you’re applying someone’s artwork directly onto your walls. It doesn’t have to shout to make a difference, and thanks to modern materials, removing it no longer has to become a weekend-long workout.
For many people, the word wallpaper immediately conjures memories of scraping, steaming, peeling, and swearing. Yes, traditional wallpaper still exists, and some varieties do require paste—but it is far from your only option today.
We now have an entire world of user-friendly choices. Many wallpapers come prepasted, meaning the adhesive is already applied to the back and simply activates with water. Others—my personal favorite—are peel-and-stick, which make installation and removal incredibly easy.
Understanding your options
Prepasted wallpaper. This type has dried paste on the back that activates with water. Once moistened, it becomes tacky and ready to hang.
Unpasted wallpaper. This requires applying wet paste during installation. It’s more traditional, but still manageable with the right tools.
Regardless of the type, the basic technique remains the same. Just remember these four simple steps: Measure · Cut · Activate · Hang
Getting started
Begin by measuring the height of your wall, then add about 4 inches. This extra length allows the wallpaper to overlap the ceiling and baseboard by roughly 2 inches—giving you room to trim for a perfect finish.
Quick tip: Always account for pattern matching—whether random, straight across, or drop match. This ensures your design flows seamlessly from strip to strip.
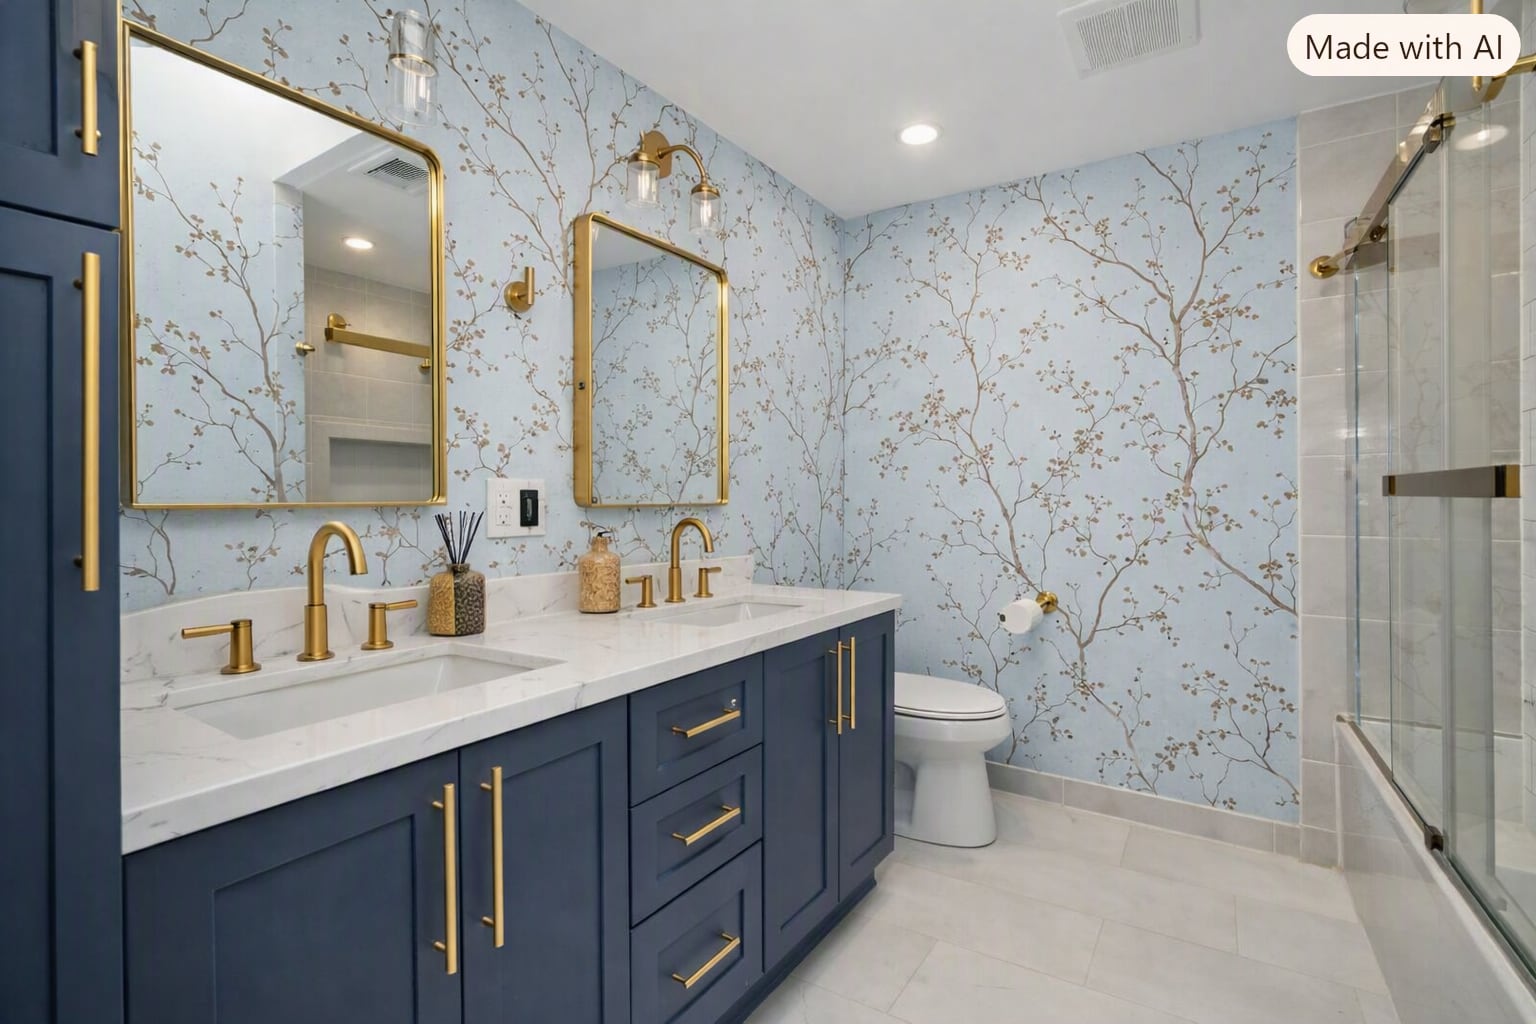
Peel-and-stick wallpaper: a modern favorite
Before you begin, inspect each roll for print defects and confirm all rolls share the same run/lot number. This guarantees consistent color throughout your project.
Tools you’ll need
- Tape measure
- Level
- Steel ruler or straight edge
- Sharp razor knife
- Pencil
- Plastic smoother
Surface preparation
For best results, your walls must be clean, dry, and smooth. Peel-and-stick wallpaper will not adhere properly to textured or dusty surfaces. Newly painted walls should cure for at least four weeks before application.
Installation steps
- Pre-cut your strips. Cut each strip slightly longer than the wall height—an extra inch or two at both ends. Align the pattern before cutting each strip, and number the back so you keep them in order.
- Establish your guide line. Starting at the left side of the wall, measure the width of your wallpaper and lightly mark the wall. Use a level to draw a perfectly straight vertical line. This becomes your anchor for the first strip—accuracy here is essential.
- Begin applying the first strip. Peel back 12–24 inches of the backing. Position the top of the strip at the ceiling, allowing slight overlap. Align the right edge with your guide line and gently press it into place. Adjust if needed to ensure a straight seam.
- Smooth as you go. Working downward, peel the backing away a few inches at a time while pressing the wallpaper onto the wall. Avoid stretching the material, as this can distort the pattern. Having a second set of hands can make this step easier—but it’s absolutely doable solo.
- Remove air bubbles. Using your plastic smoother, work from the center outward in a back-and-forth motion. Apply firm pressure to eliminate bubbles and ensure proper adhesion. If bubbles reappear, simply smooth them out again.
- Trim excess. Use a straight edge and sharp razor knife to trim the overlap at the ceiling and baseboard.
- Apply remaining strips. Repeat the process, aligning each new strip to the edge of the previous one. Pro tip: For certain patterns, a slight overlap—about 1/16 inch—can help achieve a flawless match.
Removing peel-and-stick wallpaper
To remove, start at the top corner and gently pull downward, keeping the strip parallel to the wall. Avoid overstretching the material. And remember—don’t let the adhesive sides touch each other; separating them can be difficult without causing damage.
Final thoughts
Wallpaper should be fun, not intimidating. Invite a friend to help if you want company, but don’t be afraid to tackle it yourself. And if DIY isn’t your cup of tea, hiring a professional is always an option.
Explore, experiment, and enjoy the transformation. Wallpaper is one of the most rewarding ways to refresh your home—and the possibilities are endless.
Dori